Trimming Black Dog Nails with Strength Training: A Comprehensive Guide
Trimming your dog's black nails can be a daunting task, especially if you're new to dog grooming. However, with the right information and techniques, you can safely and efficiently trim your dog's black nails with strength training.
Understanding Dog Nail Anatomy
Before we dive into the trimming process, it's essential to understand the anatomy of your dog's nail. The quick, also known as the pulp, is the sensitive part of the nail that contains blood vessels and nerves. The quick is invisible from the outside, making it challenging to identify, especially on black nails.
- The quick is the light-colored, circular area at the base of the nail.
- The central core is the hard, white part of the nail.
- The outer layer is the hard, transparent part of the nail.
When trimming your dog's black nails, it's crucial to avoid cutting the quick, as it can cause pain and bleeding.
Preparation is Key
Before starting the trimming process, prepare your dog by getting them accustomed to having their paws touched and handled. You can begin by gently massaging their paws, making it a positive experience for your dog.
Tools and Equipment
For trimming your dog's black nails, you'll need the following:
- Dog nail clippers
- A nail grinder or file
- A styptic powder or a pet nail clotting gel
- A bowl of treats to reward your dog
It's essential to choose the right nail clippers for your dog's nail size and type. You can also consider using a nail grinder or file for easier trimming.
Step-by-Step Trimming Guide
Follow these steps to trim your dog's black nails with strength training:
Step 1: Get Your Dog Accustomed to the Trimming Process
Begin by gently touching your dog's paws and letting them get used to the sensation. Reward them with treats and praise to make the experience positive.
Step 2: Identify the Quick
Look for the light-colored area at the base of the nail, which indicates the quick. If you're still unsure, you can use a flashlight to help illuminate the area.
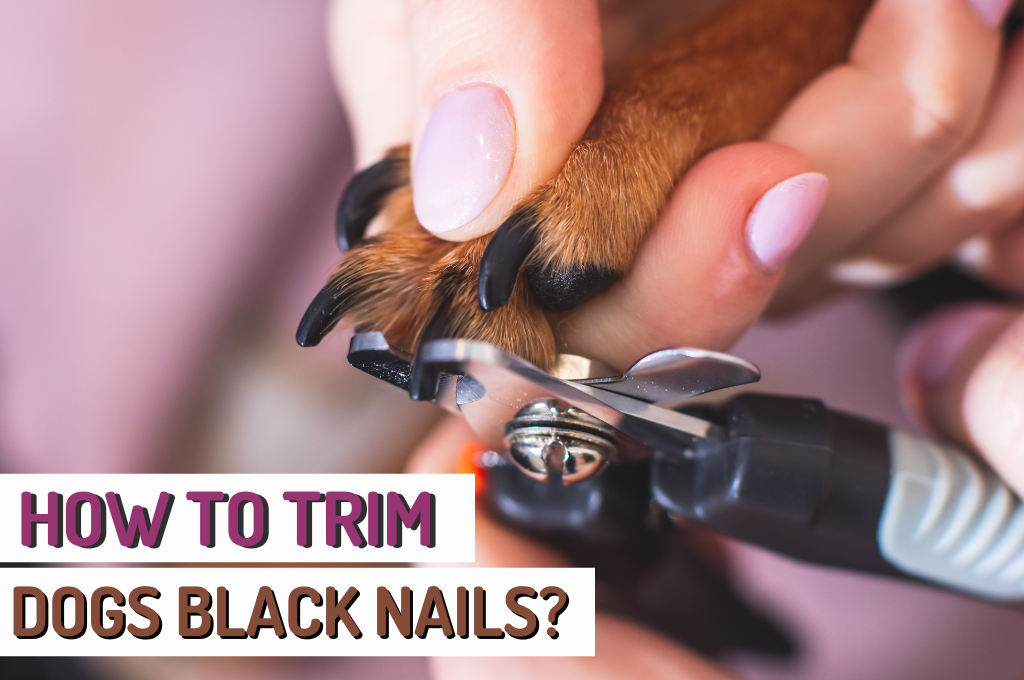
Step 3: Trim the Nails
Hold your dog's paw firmly but gently and position the clippers to cut the nail from top to bottom. Trim a small portion of the nail at a time, taking care not to cut too much.
Step 4: File the Nails (optional)
Use a nail file or grinder to smooth out the nail edges and remove any rough spots.
Step 5: Reward and Repeat
Reward your dog with treats and praise for their good behavior during the trimming process. Repeat the process until all four paws are trimmed.
Additional Tips and Tricks:
- Trim your dog's nails regularly to prevent overgrowth.
- Be patient and take your time when trimming your dog's nails.
- Use a styptic powder or clotting gel to stop any bleeding.
- Consider enlisting the help of a professional groomer or veterinarian for guidance.
Conclusion
Trimming your dog's black nails with strength training requires patience, understanding of dog nail anatomy, and the right tools and equipment. By following these steps and tips, you can safely and efficiently trim your dog's black nails, maintaining their overall health and comfort.
Remember, every dog is different, and it may take some time to get your dog accustomed to the trimming process. Be patient, and with practice, you'll become more confident and proficient in trimming your dog's black nails.


