Setting Up OBS for Sync'd Streaming: A Comprehensive Guide
If you're a content creator looking to stream high-quality video and audio to your audience, setting up OBS (Open Broadcasting Software) for sync'd streaming is a crucial step. In this article, we'll walk you through the process of configuring OBS for seamless streaming, ensuring that your video and audio are perfectly synchronized.
Understanding the Basics of OBS
OBS is a free and open-source software for video recording and livestreaming. It allows you to stream to various platforms, including Twitch, YouTube, and Facebook, and record your own videos with high-quality H.264/AAC encoding. With OBS, you can also use plugins and add-ons to enhance your streaming experience.
Pre-requisites for Sync'd Streaming
A stable internet connection with a minimum upload speed of 5 Mbps
A computer with a decent processor, RAM, and graphics card
A capture card or webcam for video input
An audio interface or microphone for high-quality audio
OBS software installed on your computer
Configuring OBS for Sync'd Streaming
Now that you have the pre-requisites covered, let's dive into the configuration process. To set up OBS for sync'd streaming, follow these steps:
Step 1: Launch OBS and Create a New Scene
Launch OBS and create a new scene by clicking on the "Create a new scene" button. This will allow you to set up your video and audio sources.
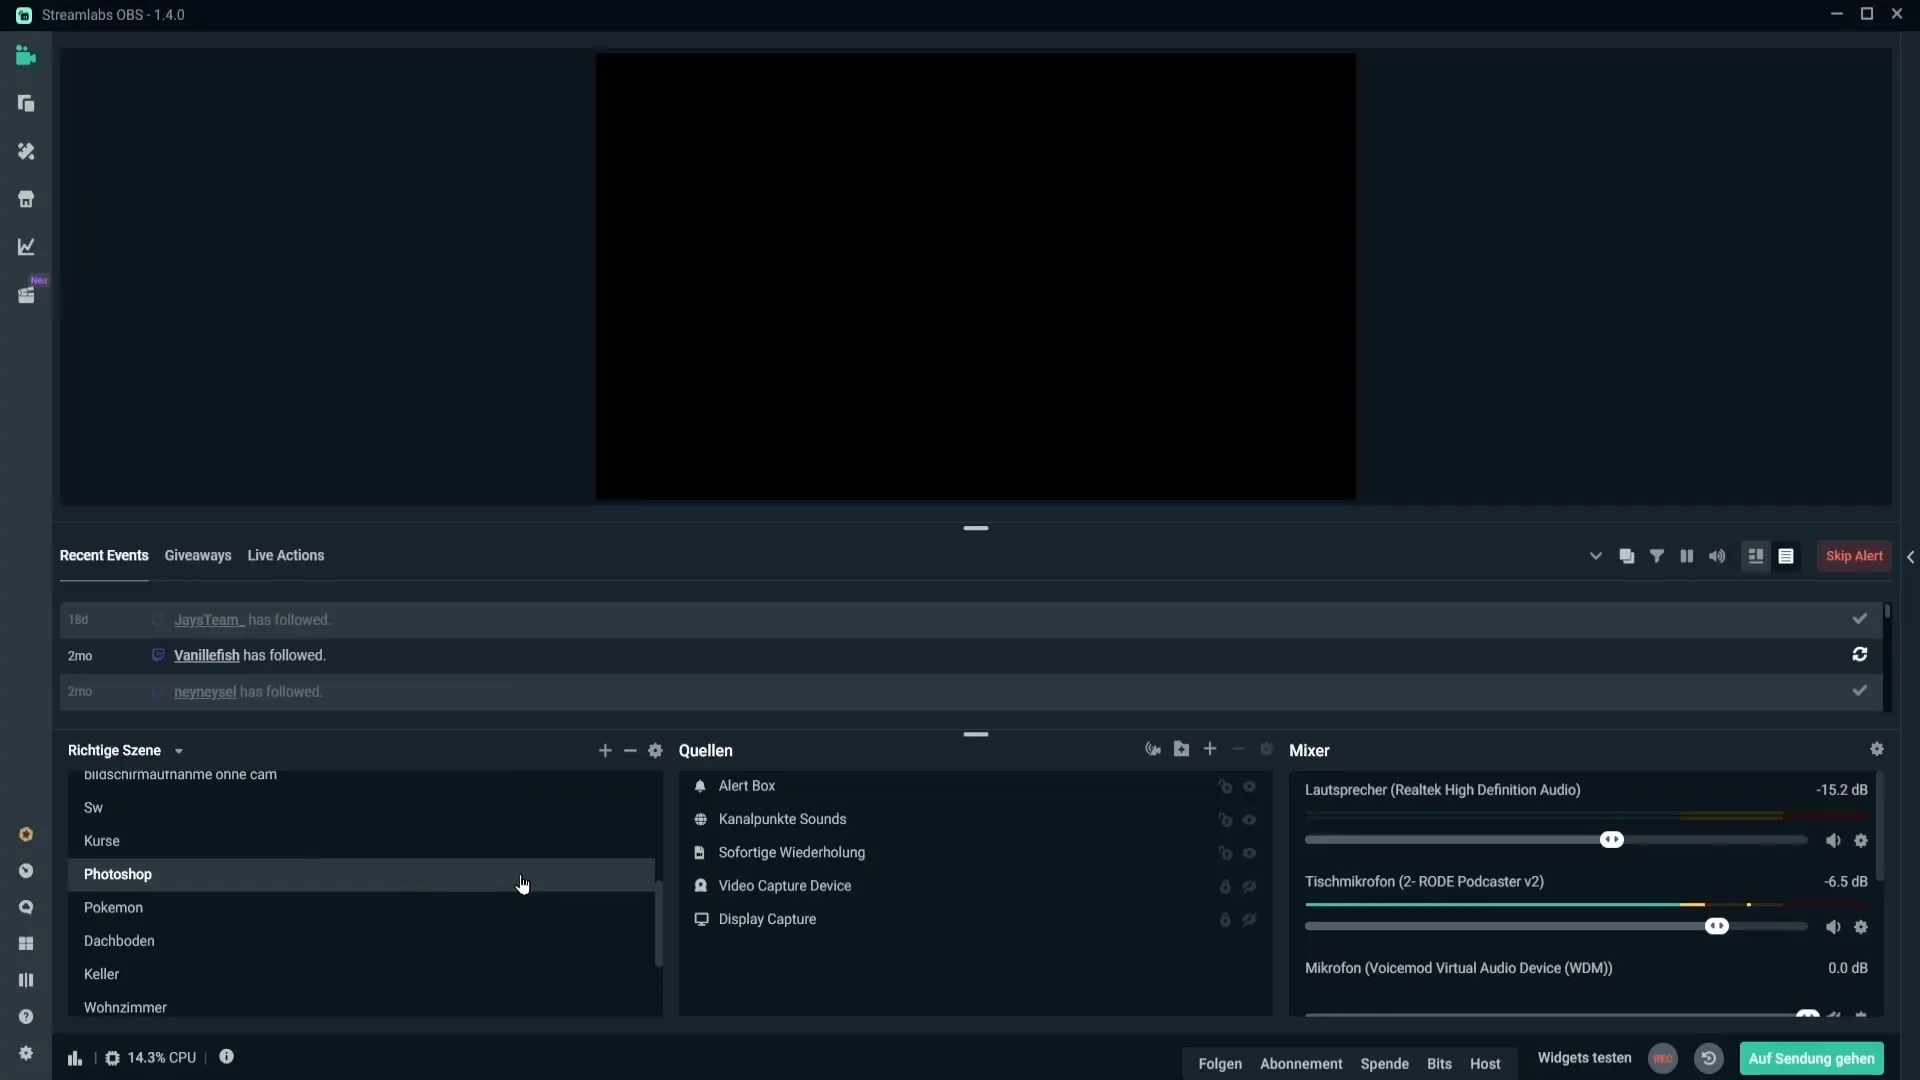
Step 2: Add Video Sources
Add your video sources by clicking on the "+" button in the "Sources" panel. You can add a capture card, webcam, or even a video file as a source. Make sure to set the correct video resolution, frame rate, and bitrate for your stream.
Step 3: Add Audio Sources
Add your audio sources by clicking on the "+" button in the "Sources" panel. You can add a microphone, audio interface, or even a music file as an audio source. Make sure to set the correct audio format, bitrate, and sample rate for your stream.
Step 4: Configure Sync Offset
Configure the sync offset by going to the "Audio Mixers" panel and selecting the "Advanced" tab. From here, you can adjust the sync offset to ensure that your video and audio are perfectly synchronized.
Step 5: Set Up Streaming Settings
Set up your streaming settings by going to the "Stream" panel and selecting the "Settings" tab. Here, you can configure your stream settings, including the bitrate, resolution, and frame rate.
Step 6: Test Your Stream
Test your stream by clicking on the "Start Streaming" button. Make sure to check your video and audio quality, as well as the sync offset, to ensure that everything is in sync.
Advanced Tips and Tricks
To take your streaming experience to the next level, consider the following advanced tips and tricks:
Use a Capture Card for High-Quality Video
Using a capture card can help you achieve high-quality video, even if your webcam or computer's graphics card can't handle the load.
Adjust Your Audio Settings for Better Sound Quality
Adjusting your audio settings, such as the sample rate, bitrate, and audio format, can help you achieve better sound quality.
Use a Plugin or Add-on for Enhanced Streaming Features
Using a plugin or add-on can help you enhance your streaming experience, such as adding overlays, widgets, or even chatbots to your stream.
Conclusion
Setting up OBS for sync'd streaming requires a bit of configuration, but with the right steps and advanced tips, you can achieve high-quality video and audio that will engage your audience. Remember to test your stream regularly to ensure that everything is in sync and adjust your settings accordingly.
By following this comprehensive guide, you'll be well on your way to creating high-quality streams that will take your content creation to the next level.

")


")
")
")
")


