How to Get Started on Twitch Streaming
Wondering how to start a Twitch stream? We'll tell you everything you need to know about streaming—from creating an account to getting the right equipment. Whether you're a seasoned gamer or an aspiring artist, streaming on Twitch can be a fun and rewarding experience. In this article, we'll guide you through the process of getting started on Twitch streaming.
Step 1: Create a Twitch Account
To start streaming on Twitch, you'll need to create an account on the platform. If you don't already have a Twitch account, head to the website and click on the "Sign Up" button. Fill out the registration form with your email address, username, and password. You'll also need to provide some basic information about yourself, such as your name and location.
Step 2: Set Up Your Equipment
Next, you'll need to set up your equipment. All you need to start streaming is a stable internet connection and a tool that can broadcast video to the internet, also known as a video encoder. This can be a physical device like a gaming console or a device (Xbox, PS4, Nintendo Switch) or software like Twitch Studio, the mobile Twitch App (iOS and Android), OBS, to name a few.
- Twitch Studio: A free, all-in-one streaming software that allows you to stream directly from your computer.
- OBS (Open Broadcasting Software): A popular, free, and open-source streaming software that allows you to stream to multiple platforms, including Twitch.
- Streamlabs: A user-friendly streaming software that offers customizable overlays and alerts.
- Mobile Apps (iOS and Android): Allows you to stream directly from your mobile device.
Step 3: Choose Your Streaming Software
Once you've set up your equipment, you'll need to choose a streaming software that suits your needs. There are many options available, including the ones mentioned above. Consider the features you need, such as customization options, alert systems, and the ease of use.
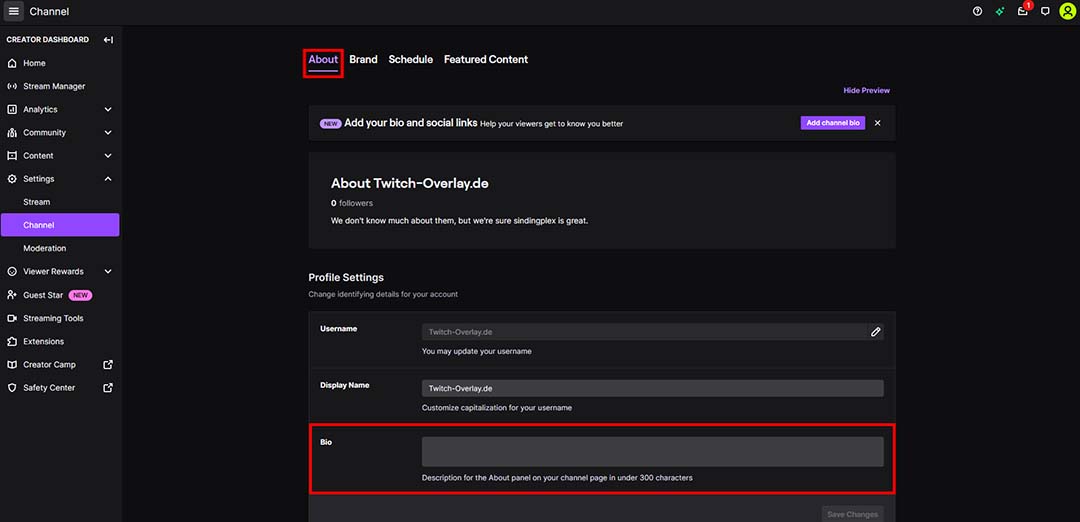
Step 4: Set Up Your Channel
Now that you've got your equipment and software in place, it's time to set up your channel. This includes adding a profile picture, bio, and cover art. You'll also need to customize your stream's appearance, including adding a background image, style, and audio.
Step 5: Test Your Stream
Before going live, it's essential to test your stream to ensure everything is working correctly. This includes testing your audio, video, and internet connection. You can do this by running a test stream with a friend or family member.
Step 6: Go Live!
Finally, it's time to go live! Press the "Start Streaming" button, and you'll be broadcasting your stream to the world. Make sure to engage with your viewers, respond to comments, and promote your stream to grow your audience.
Additional Tips and Resources
Here are some additional tips and resources to help you get started on Twitch streaming:
- Invest in a good camera: A webcam or dedicated camera can improve the quality of your stream.
- Invest in a good microphone: A good microphone can improve the audio quality of your stream.
- Use a capture card: If you're using a console, consider investing in a capture card to improve the video quality of your stream.
- Get familiar with Twitch's community guidelines: Twitch has strict community guidelines, so make sure to read and follow them.
- Join the Twitch community: Interact with other streamers, join communities, and participate in events to grow your audience.
Conclusion
Getting started on Twitch streaming can seem daunting, but with these steps and additional tips, you'll be well on your way to creating a successful stream. Remember to engage with your audience, promote your stream, and continuously improve your equipment and software to grow your channel and increase your viewership.


 - Go Live ...")


")

