Setting up Dynamic Memory on Windows 11: A Step-by-Step Guide
Learn how to adjust your computer's memory in Windows 11 with this comprehensive guide. Optimizing performance and managing resources efficiently is easier than ever, and in this article, we will walk you through the step-by-step process of setting up dynamic memory on Windows 11.
What is Dynamic Memory?
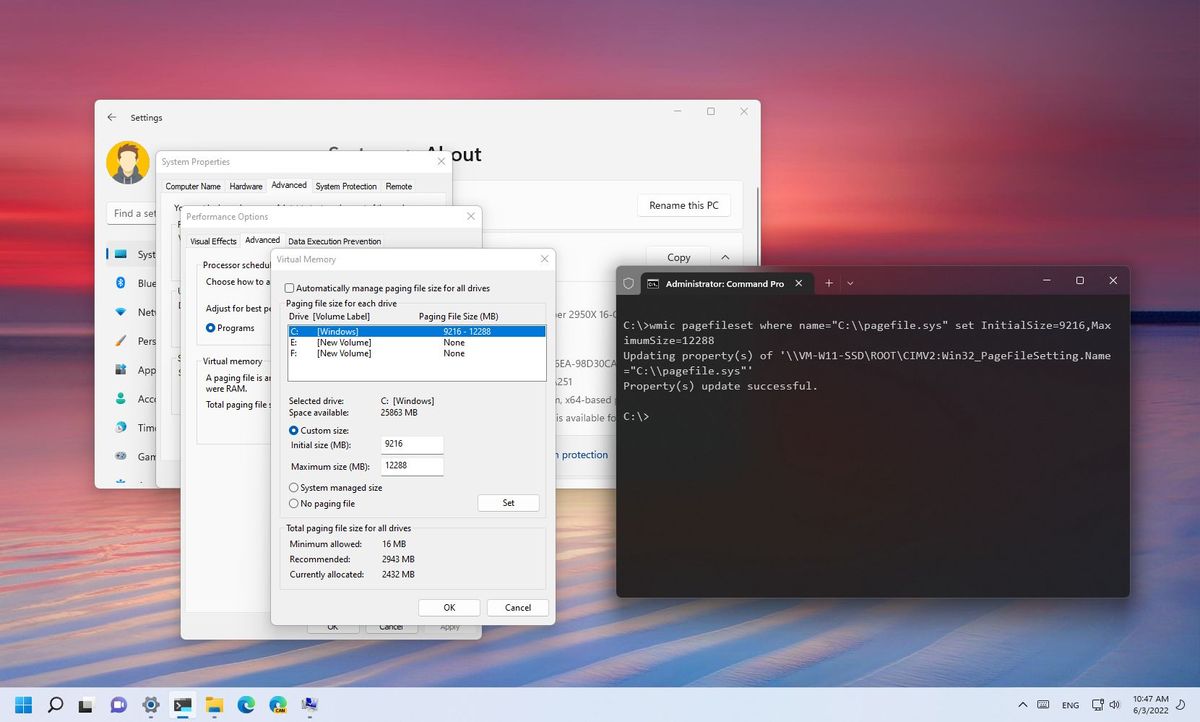
Dynamic memory refers to the ability of a system to allocate and deallocate memory as needed. In Windows 11, dynamic memory is used to manage the virtual memory, also known as the paging file. The virtual memory is a combination of RAM and disk space, and it allows the system to use physical RAM more efficiently by offloading some programs and files to the storage.
Benefits of Setting up Dynamic Memory on Windows 11
- Improved system performance
- Increased efficiency in managing resources
- Reduced likelihood of crashes and slowdowns
- Better responsiveness and multitasking
Step 1: Open the System Configuration Tool
To access the system configuration tool, press the Windows key + R to open the Run dialog box. Type "msconfig" and press Enter.
Step 2: Navigate to the Boot Tab
In the System Configuration tool, navigate to the Boot tab and select the boot device that you want to configure. Then, click on the "Edit" button.
Step 3: Add the Dynamic Memory Option
On the Boot Device Properties window, click on the "Advanced options" button. Then, select the "Dynamic memory" option and click on "OK" to save the changes.
Step 4: Apply the Changes
Click on the "Apply" button to apply the changes. Then, click on "OK" to close the System Configuration tool.
Step 5: Restart Your Computer
Restart your computer to apply the changes and start using dynamic memory on Windows 11.
Tips and Tricks
Here are some additional tips and tricks to help you optimize your dynamic memory settings:
- Set the initial memory to a reasonable amount, such as 4GB or 8GB.
- Adjust the Maximum memory setting to match your computer's RAM capacity.
- Make sure to enable the "Dynamic memory" option and save the changes.
- Restart your computer to apply the changes and start using dynamic memory.
Conclusion
Setting up dynamic memory on Windows 11 is a simple and effective way to optimize your system performance and manage resources efficiently. By following the step-by-step guide outlined in this article, you can easily configure your dynamic memory settings and enjoy improved system responsiveness, reduced crashes, and better multitasking capabilities.
Common Issues and Solutions
Here are some common issues that you may encounter when setting up dynamic memory on Windows 11 and some solutions to help you resolve them:
- **Limited memory allocation**: Solution - Increase the initial memory allocation to a larger amount.
- **Failed to apply changes**: Solution - Restart your computer to apply the changes and start using dynamic memory.
- **Dynamic memory not enabled**: Solution - Make sure to enable the "Dynamic memory" option and save the changes.
- **System crashes**: Solution - Reduce the maximum memory allocation to prevent system overloading.
Additional Resources
Here are some additional resources to help you learn more about dynamic memory on Windows 11:
Final Thoughts
Setting up dynamic memory on Windows 11 is an easy and effective way to optimize your system performance and manage resources efficiently. By following the step-by-step guide outlined in this article, you can easily configure your dynamic memory settings and enjoy improved system responsiveness, reduced crashes, and better multitasking capabilities.


: Top Picks for Every ...")
 in Windows 11 to Boost ...")

