How to Build a PC: A Comprehensive Step-by-Step Guide
Building your own PC can be an exciting yet intimidating experience, especially if you're a first-timer. However, with the right guidance and knowledge, you can create a custom PC that meets your specific needs and budget. In this article, we'll walk you through a step-by-step guide on how to build a PC, covering essential components, installation steps, and tips for a successful build.
Step 1: Plan Your Build
Before you start building your PC, it's essential to plan your build. Determine your computer goals and budget, and decide on the purpose of your PC (gaming, content creation, home office, or general use). Make a list of the essential components you'll need and research each one to ensure you get the best value for your money.
- Define your computer goals and budget
- Determine the purpose of your PC (gaming, content creation, home office, or general use)
- Make a list of essential components needed
- Research each component to ensure the best value for your money
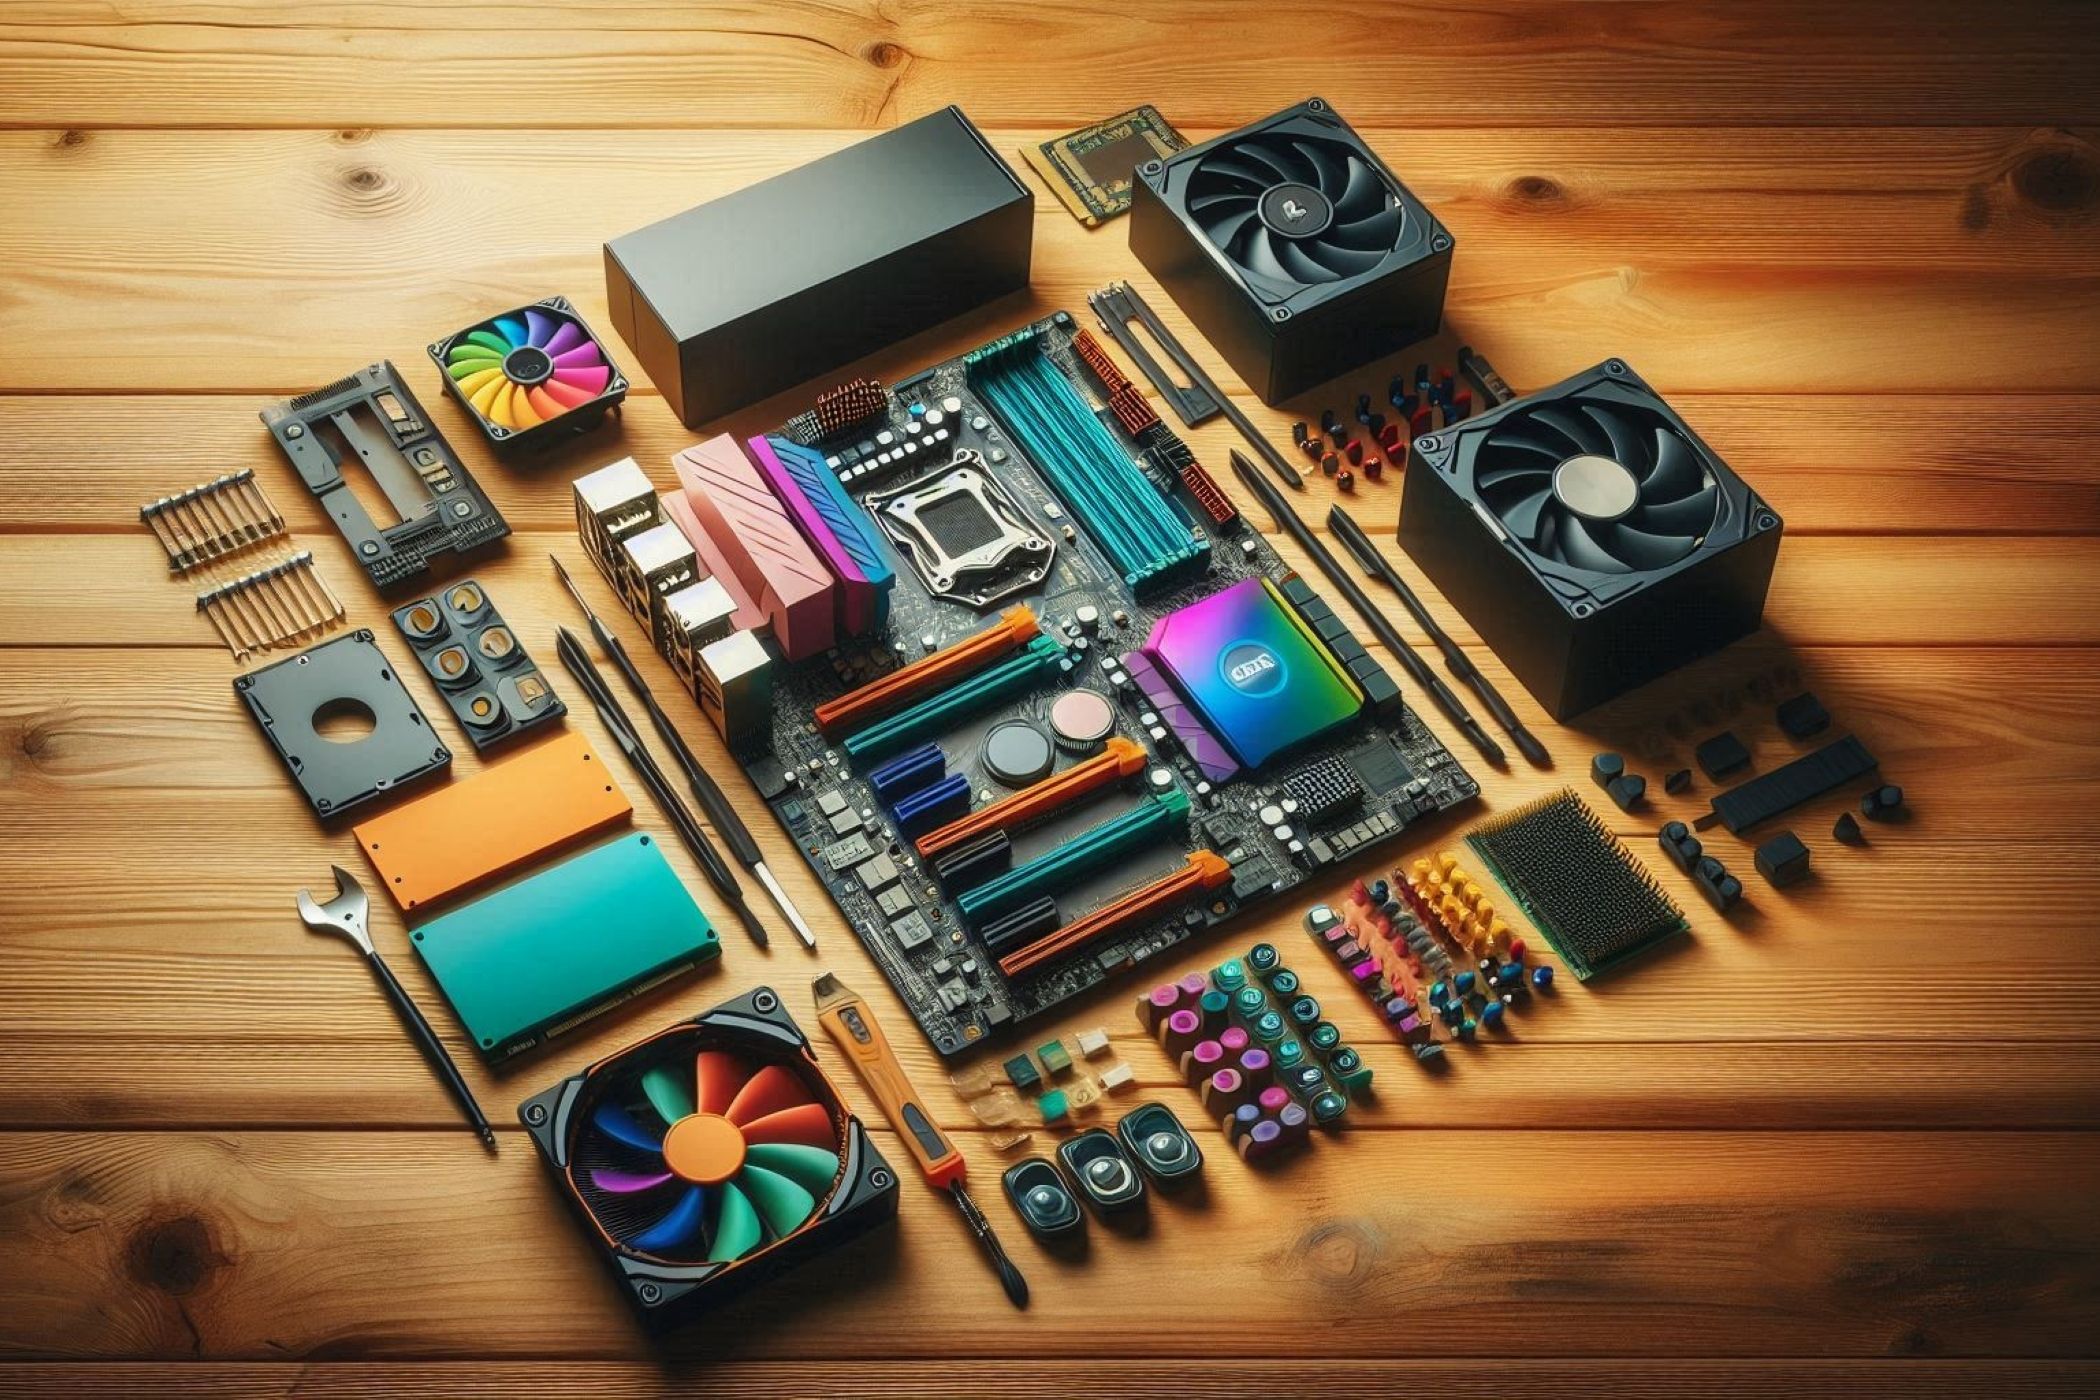
Step 2: Choose Your Components
With your plan in place, it's time to choose your PC components. The core components you'll need include:
- CPU (Central Processing Unit)
- Motherboard
- RAM (Memory)
- Storage Drive (HDD, SSD, or NVMe)
- Power Supply
- Graphics Card (optional)
- Case
- Cooling System (optional)
Consider factors such as compatibility, performance, and price when selecting each component. Be sure to read reviews and do research to ensure you're getting the best value for your money.
Step 3: Prepare Your Tools and Workspace
Before you start building your PC, ensure you have the necessary tools and a clean, organized workspace. You'll need:
- Sockets and screwdrivers for removing components
- Torx driver for removing the CPU cooler
- Anti-static wrist strap or mat
- Cable ties and cable management tools
Make sure your workspace is free from static electricity, and consider using an anti-static wrist strap or mat to prevent damage to your components.
Step 4: Unpack and Prepare Your Components
Unpack your components and prepare them for installation. Make sure to:
- Read the user manuals for each component
- Ground yourself with an anti-static wrist strap or mat
- Handle components by the edges to prevent damage
- Prepare the correct thermal paste for the CPU
- Unpack any additional components or accessories
Step 5: Assemble the CPU and Motherboard
Assemble the CPU and motherboard by:
- Removing the CPU from its packaging and handling it by the edges
- Applying thermal paste to the CPU die
- Installing the CPU onto the motherboard
- Securing the CPU cooler with screws
- Installing the motherboard onto the case
- Connecting the front panel headers and fans
Step 6: Install the RAM and Storage Drive
Install the RAM and storage drive by:
- Locating the RAM slots on the motherboard
- Inserting the RAM into the slots at an angle
- Securing the RAM with clips or screws
- Locating the storage drive bay on the case
- Installing the storage drive into the bay
- Connecting the storage drive to the motherboard
Step 7: Install the Power Supply and Graphics Card (optional)
Install the power supply and graphics card (if applicable) by:
- Locating the power supply bay on the case
- Installing the power supply into the bay
- Connecting the power supply cables to the motherboard, CPU, and storage drive
- Locating the graphics card slot on the motherboard
- Installing the graphics card into the slot
- Securing the graphics card with screws
Step 8: Connect the Front Panel, Fans, and Cables
Connect the front panel, fans, and cables by:
- Locating the front panel headers on the motherboard
- Connecting the front panel headers to the case
- Locating the fan headers on the motherboard
- Connecting the fan headers to the case fans
- Connecting the power cables to the motherboard, CPU, and storage drive
- Connecting the data cables to the storage drive and USB ports


")


