Setup Alexa with Voice Assistant: A Comprehensive Guide
Are you ready to unlock the full potential of your smart home and transform the way you interact with your devices? Look no further than Amazon Alexa. As a leading voice assistant, Alexa offers an unparalleled level of convenience and control, allowing you to manage your daily life with ease using just your voice. In this article, we will delve into the world of Alexa and provide a step-by-step guide on how to setup Alexa with a voice assistant.
What is Alexa?
Alexa is a cloud-based voice assistant developed by Amazon, designed to make your life easier and more convenient. This intelligent digital assistant can be controlled using voice commands, allowing you to manage your smart devices, play music, set reminders, and access a wide range of information, all from the comfort of your own home. With Alexa, you can control a wide range of devices, including lights, thermostats, security cameras, and more.
Step 1: Download and Install the Alexa App
The first step in setting up Alexa is to download and install the Alexa app on your smartphone or tablet. The app is available for both iOS and Android devices and can be downloaded from the App Store or Google Play Store. Once installed, open the app and follow the prompts to create an account or login to your existing Amazon account.
Setting Up Your Alexa Device
Next, connect your Alexa device to the app by following the on-screen instructions. Make sure your device is powered on and connected to your Wi-Fi network. Once connected, the app will guide you through the setup process, which includes registering the device and configuring its settings for use.
Step 2: Link Your Amazon Account
When adding Alexa, the app will open your default web browser to log into your Amazon account. If a different Amazon account is already logged in through that browser, the browser will automatically enter login info for that account. To ensure you are logging into the correct account, clear the browser cookies. The browser will then prompt you to enter your Amazon account during setup.
Step 3: Configure Your Alexa Settings
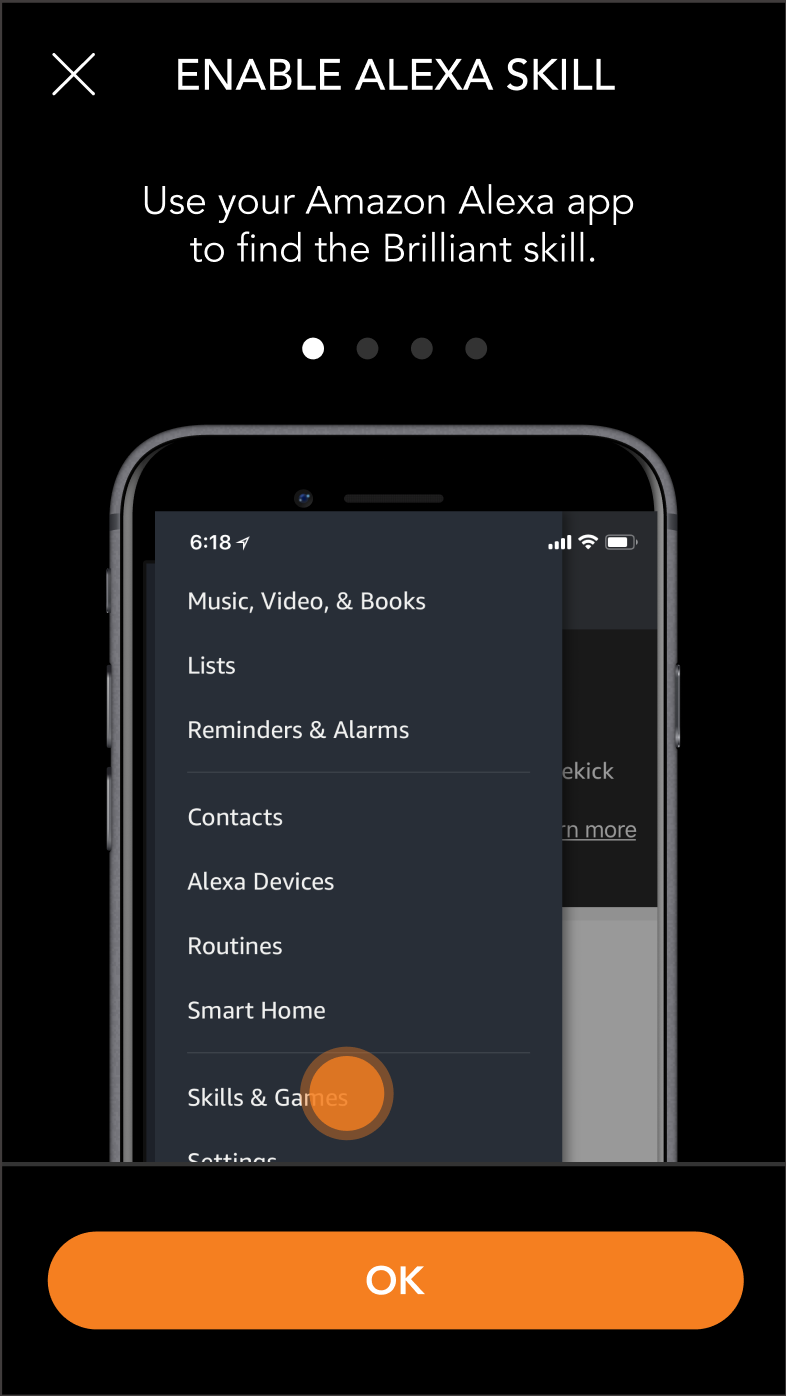
Once you have logged into your Amazon account, follow the prompts to configure your Alexa settings. You can customize your Alexa experience by choosing which devices to control, setting up voice preferences, and selecting the skills you want to enable. Skills are essentially apps that allow you to expand Alexa's capabilities, such as controlling your security cameras or playing music.
Step 4: Connect to Your Wi-Fi Network
With your Alexa account set up, the next step is to connect your device to your Wi-Fi network. This is a crucial step, as it will allow you to access your Alexa skills and use voice control. Make sure your Wi-Fi network is stable and robust, as a poor connection can lead to issues with your Alexa experience.
Step 5: Test Your Alexa Device
With your Alexa device connected to your Wi-Fi network, it's time to test your device. Use the Alexa app to enable skills, control your devices, and access information using voice commands. This will give you a sense of the full capabilities of your Alexa device and help you to tailor your experience to your needs.
Smart Home Devices Compatible with Alexa
Alexa is compatible with a wide range of smart devices, including lights, thermostats, security cameras, and more. Some popular compatible devices include the Amazon Echo, Philips Hue bulbs, Nest thermostats, and August locks. When setting up your device, ensure it is compatible with Alexa by checking the manufacturer's website or the Alexa app.


